 Updated August 6, 2026: We originally tested the Ninja Foodi Grill AG301 in 2019, and the review and recipe below reflect that hands-on test. Ninja’s indoor grill lineup has grown a lot since then, so if the AG301 is hard to find near you, it’s worth comparing current models before you buy.
Do you love to grill, but don’t do it as often as you like? Maybe you don’t like the hassle or your outdoor living space won’t accommodate a BBQ? Or maybe you don’t have an outdoor living space?
A new kitchen appliance by Ninja called the Ninja® Foodi Grill is about to change all that and make grilling easy year-round, even if you have limited space to work with. We got a chance to give it a test drive before its official release and after using it for a few weeks we’re officially hooked!
Not only does the Ninja Foodi Grill grill foods amazingly (see below), but it also performs a variety of other functions to make it worthy of adding to your collection of kitchen appliances.
If you’re currently thinking, “Do I really need another kitchen gadget?” – let me be the first to tell you, yes.
Keep reading to see what our first impressions are and scroll down for the first yummy recipe we created using the Ninja Foodi Grill.
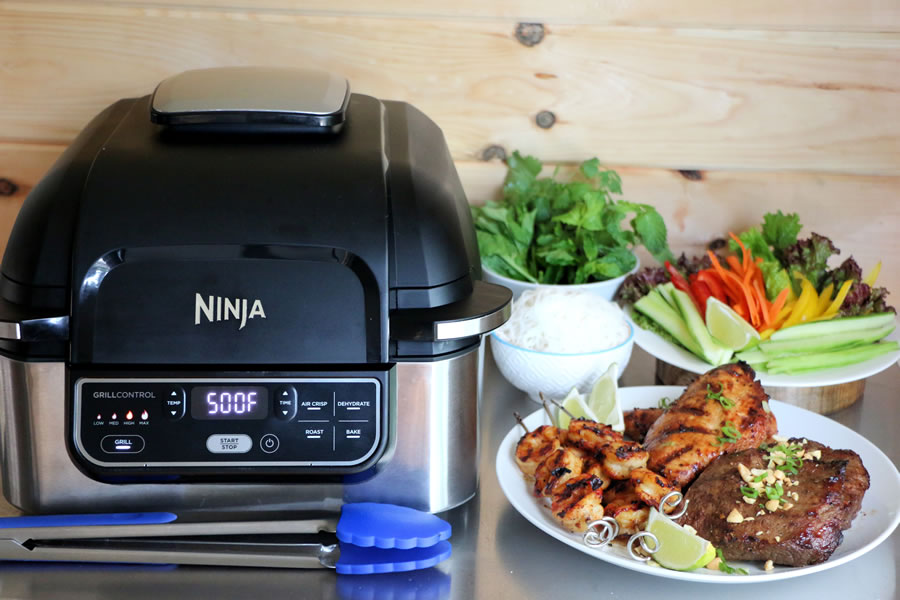
The Ninja Foodi Grill AG301, ready to go with a full Vietnamese mixed grill platter alongside it.
First Impressions And Grilling Experience with Ninja Foodi Grill
When I first learned about the Ninja Foodi Grill, I have to admit I was skeptical about how it would perform. I wondered if it actually gives food those amazing grill marks. Would the flavor be there? Would the food be juicy? Would we get that beautiful caramelization if the meat was glazed with a BBQ sauce or marinade?
I can now confidently say the answer is yes, yes, and yes. Not only is it an amazing indoor grill, but it exceeded my expectations in every way.
My first test cooking with the grill was with some zucchini and squash simply seasoned with salt and pepper along with some jumbo shrimp I had marinating.
Zucchini, squash, and shrimp on the grill grate during our first test run.
The grill can take up to 8 minutes to pre-heat so this is a good time to do any prepping or other tasks you might need to do. I made sure the grill grate was inserted and selected the max heating setting for 510 degrees, which is suggested for grilling the shrimp and veg.
The display on the unit will show the pre-heating progress and alert you with an ‘ADD FOOD’ message. This is your cue to open the hood and get that food on the grill.
I tossed my veggies in a bowl with some grapeseed oil and got them on the grill first. It’s recommended to flip halfway between cooking so you get those gorgeous grill marks on both sides. I forgot to do that, but the amazing result is pictured just below.
Ninja Foodi Tip: It’s recommended you use oils with a high smoke point like canola, grapeseed, or avocado to prevent smoking while grilling.
Now check out these amazing grilled shrimp ma
We Tested The Ninja Foodi Grill. Here’s Why We Love It